As an Amazon Associate, we earn from qualifying purchases. Some links on this site are affiliate links at no extra cost to you. Our recommendations are based on thorough research and editorial judgment.

How to Install a Whole House Water Filter Without a Plumber

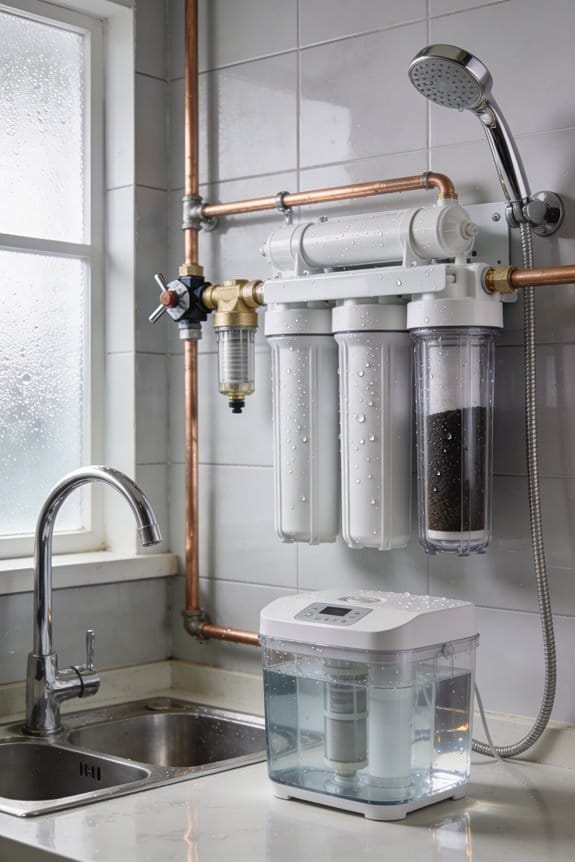
I can install a whole house water filter by gathering tools like a tubing cutter, torch, and fitting brush, then positioning it near my main shutoff valve. I’ll dry-fit all components first to check alignment, secure the housing with brackets, and install three ball valves for control. After soldering copper connections with flux and solder, I’ll pressure test the system by slowly opening valves and monitoring for leaks. Following maintenance schedules and troubleshooting tips guarantees my filter works properly for years ahead.
Key Takeaways
- Gather essential tools including tubing cutter, fitting brush, torch, flux, solder, and pressure test gauge before beginning installation.
- Position the filter housing near your main water shutoff valve after the pressure reduction valve, using sturdy mounting brackets.
- Perform a dry-fit assembly of all pipes, fittings, and valves to identify potential problems before making permanent soldered connections.
- Install three ball valves: upstream shutoff, downstream shutoff, and bypass valve to control water flow and allow filter maintenance access.
- Activate the system slowly while monitoring pressure gauges and checking for leaks, then bleed air by opening a nearby faucet.
Gather Your Tools for Water Filter Installation
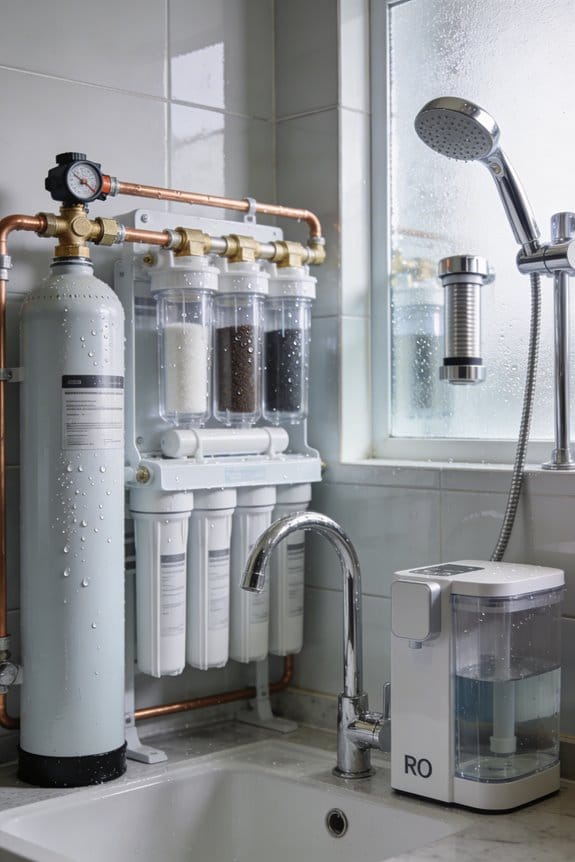
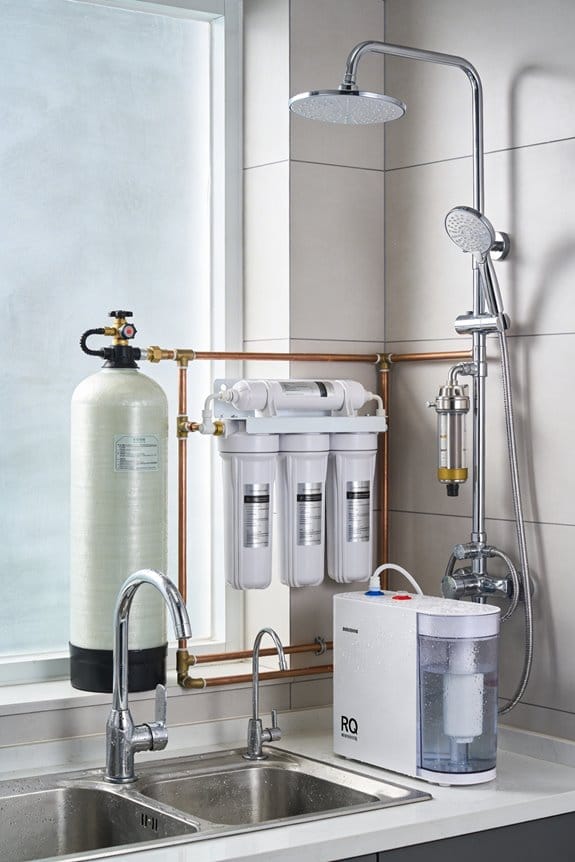
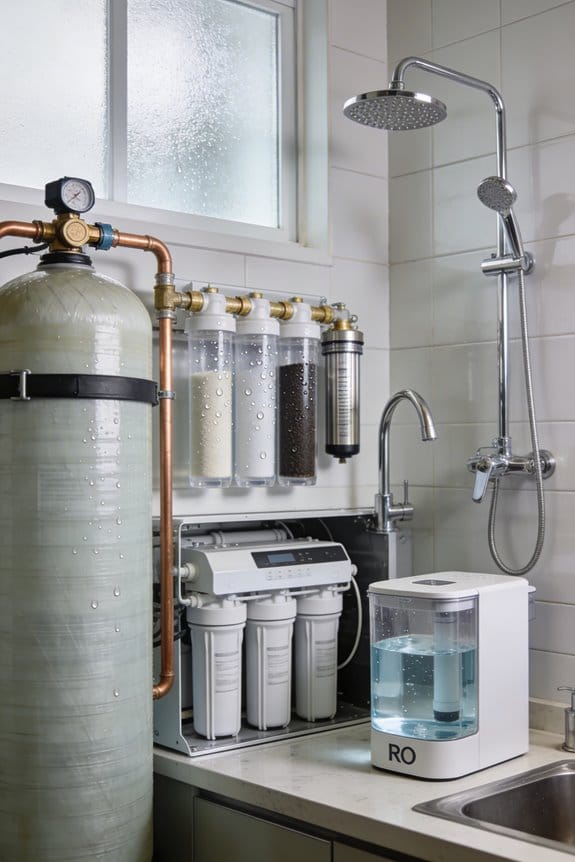
Before you can install your whole house water filter, you’ll need to assemble the right tools, which form the foundation of a successful project. A tubing cutter ensures precise pipe cuts, while a fitting brush prepares connections for soldering. You’ll need a torch, flux, and solder to create secure joints between copper pipes and fittings. Thread sealing tape handles threaded connections effectively. Safety goggles protect your eyes during cutting and soldering work. A pressure test gauge monitors system performance after installation. Ensuring filter compatibility with your existing plumbing requires checking measurements and connection types before purchasing supplies. Having these tools readily available prevents delays and guarantees you can work efficiently throughout the installation process without interruptions or missing equipment.
Choose the Right Location Near Your Main Water Shutoff
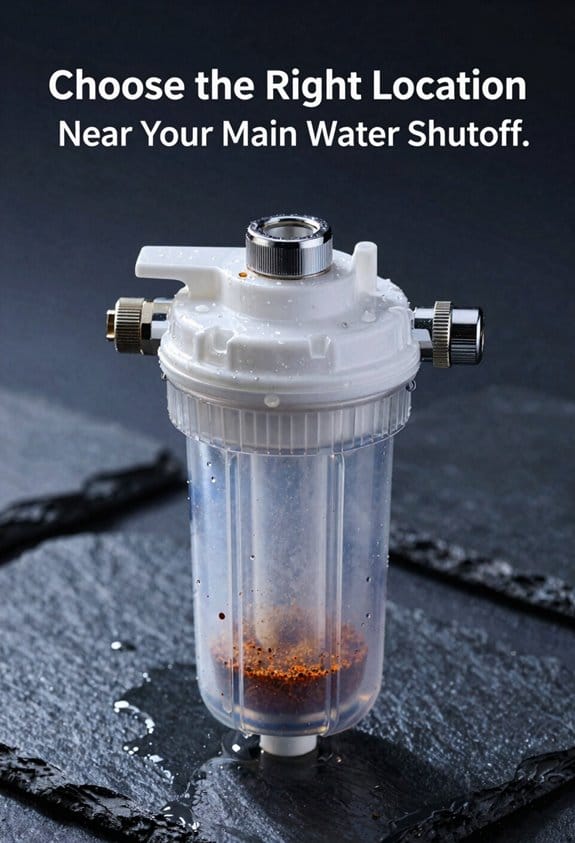
With your tools gathered and ready, the next step involves selecting where your water filter will actually go in your home’s plumbing system. I recommend positioning the filter near your main water shutoff valve, which gives you easy access for maintenance and emergencies. Install it after your pressure reduction valve but before any pipe splits occur in your home. Mount the filter housing on sturdy brackets at a height that allows comfortable filter replacement. Choose a location with adequate space for bypass valves and future servicing. Consider frost protection if you’re installing in an unheated area, as freezing temperatures can damage connections. Guarantee proper ventilation around the unit for peak performance and longevity.
Dry-Fit All Components Before You Solder Anything
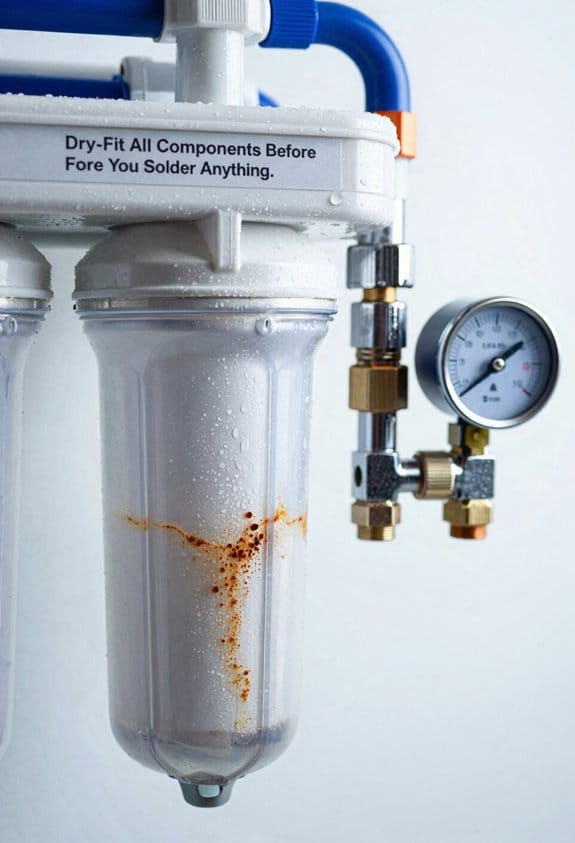
Now that you’ve selected your installation location and gathered your tools, it’s time to assemble all your pipes, fittings, and valves together without permanently joining them, a process called dry-fitting. I recommend laying out every component in the order you’ll connect them, starting from your main water supply line through the filter housing to your home’s distribution pipes.
Carefully measure alignment between each pipe and fitting to guarantee proper connections. As you position tees, elbows, and ball valves, verify clearance around the filter housing for future maintenance access. This temporary assembly reveals potential problems before you apply flux and solder, saving you from costly mistakes. Once everything fits correctly, you’re ready for permanent installation.
Install Housing and Bypass Valves
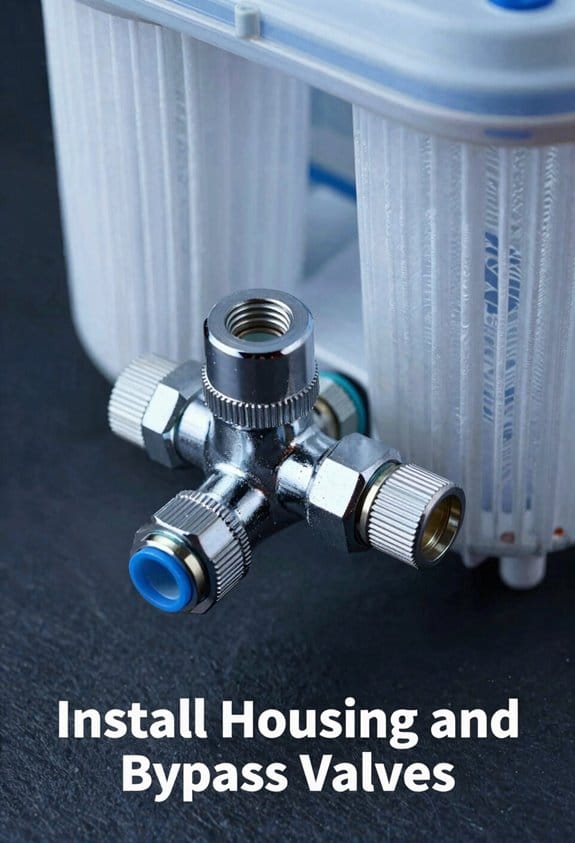
Once your dry-fit assembly confirms everything aligns properly, you’re ready to mount the filter housing and install the bypass valves that protect your system from pressure damage.
Start by securing the filter housing to your mounting brackets, which you’ve already fastened to the wall or backer board. Use the manufacturer’s specifications to guarantee proper orientation and height for filter cartridge replacement. Next, install the three ball valves: one upstream shutoff, one downstream shutoff, and one bypass valve. The bypass valve allows water to flow around the filter if pressure builds dangerously high, protecting the system from damage.
Finally, attach the grounding jumper—heavy-gauge copper wire that bridges the filter housing and prevents electrical charge buildup. This safety component is essential for system integrity.
Pressure Test for Leaks and Activate the System
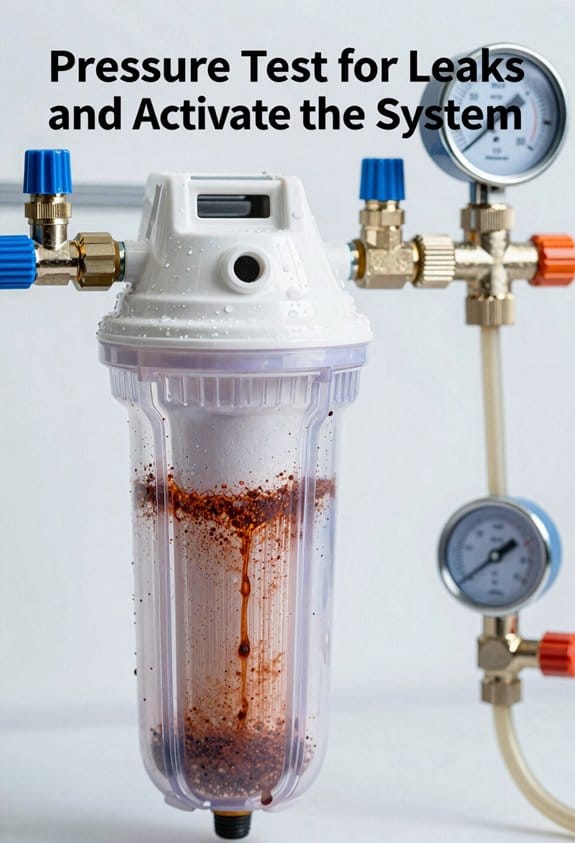
Before you turn on the water supply, I need to verify that all your connections are tight and watertight, because even small leaks can cause water damage and reduce your filter’s effectiveness. Start by closing the bypass valve and opening the feed valves slowly. As water fills the housing, watch carefully for drips at every joint and connection point during leak surveillance. Open the upstream valve gradually to avoid pressure spikes that might damage seals. Once water flows clearly through the system, begin pressure bleeding by opening a nearby faucet to release trapped air. Check all gauge readings to confirm proper pressure levels. Let the system run for several minutes while continuing leak surveillance to ensure everything performs correctly before regular use.
Troubleshoot Problems and Know Your Filter’s Lifespan
Even with a properly installed system, you’ll encounter common issues that require straightforward troubleshooting, and understanding these problems helps you maintain your filter’s effectiveness over time. Low water pressure typically indicates a clogged filter needing replacement. Leaks at connections mean you should tighten fittings or resolder joints. Discolored water suggests the filter’s cartridge has reached capacity.
Most whole-house filters last between six months and two years, depending on your water quality and household usage. Check your manufacturer’s guidelines for specific filter lifespan recommendations. Monitoring pressure gauges helps you identify when replacement is necessary. Replace filters promptly to prevent system damage and maintain water quality. Keeping maintenance records ensures you don’t miss vital filter changes, protecting your home’s plumbing and appliances from sediment buildup.
Frequently Asked Questions
How Often Should I Replace My Whole House Water Filter Cartridges?
I’d recommend replacing your cartridge every six to twelve months, depending on water quality and usage. Most cartridges have a lifespan of about 12,000-15,000 gallons, so monitor your replacement intervals accordingly.
Can I Install a Water Filter on PEX or Do I Need Copper Pipes?
Studies show 90% of new homes use PEX piping. You can absolutely install your filter on PEX—I’d recommend compression fittings or SharkBite adapters for PEX compatibility. They’re simpler than soldering copper joints.
What Water Pressure Is Too High for a Whole House Filtration System?
I’d recommend keeping your pressure below 80 PSI for peak filtration system performance. You’ll want to install pressure gauges and surge protectors to monitor and regulate excessive pressure that could damage your filter housing and reduce its lifespan.
Do I Need a Permit to Install a Whole House Water Filter Myself?
Most areas don’t require permits for DIY filter installation, though I’d recommend checking local building codes and verifying your homeowner insurance covers self-installations to avoid coverage gaps.
How Long Does It Typically Take to Install a Whole House Filter System?
I’d estimate you’re looking at 4-6 hours for your installation time, depending on your plumbing setup. The project timeline includes prep work, cutting pipes, soldering connections, and testing. It’s manageable if you’ve got basic plumbing skills.