As an Amazon Associate, we earn from qualifying purchases. Some links on this site are affiliate links at no extra cost to you. Our recommendations are based on thorough research and editorial judgment.

How to Start Improving Your Home Water Quality Without Spending a Fortune

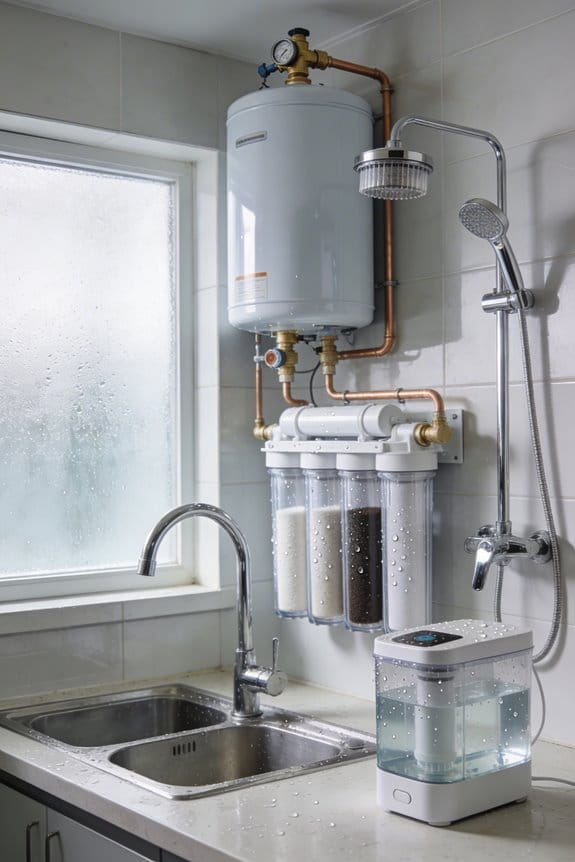
You don’t need expensive systems to improve your home’s water quality. Start by inspecting old pipes for lead and replacing them with copper or lead-free alternatives, which prevents corrosion that contaminates your water. Next, install affordable faucet filters or pitcher systems using activated carbon to remove sediment and chlorine. For stronger protection, boil your water first to kill bacteria, then add chlorine for residual defense. These budget-friendly steps create a solid foundation; discover how each method works together for maximum effectiveness.
Key Takeaways
- Replace old lead pipes and fixtures in pre-1986 homes to prevent corrosion-related water quality problems before adding filtration systems.
- Install inexpensive faucet filters or pitcher systems using activated carbon to immediately improve water quality without professional installation.
- Boil water first to remove turbidity, then add chlorine and wait thirty minutes for multibarrier protection against contaminants.
- Use white vinegar overnight on faucet aerators and run it through appliances monthly to prevent costly scale buildup naturally.
- Consider under-sink reverse osmosis systems when ready; they remove dissolved solids and provide economical long-term clean water access.
Prepare Your Home: Replace Old Pipes and Fixtures
Let’s start by examining your home’s plumbing system, since old pipes and fixtures can introduce contaminants directly into your water supply. If your home was built before 1986, you likely have lead soldering connecting your pipes, which gradually corrodes and releases lead into your drinking water. I’d recommend replacing galvanized pipes with copper or lead-free alternatives, as pipe corrosion from age degrades water quality markedly. Additionally, inspect your fixtures for lead content—look for ones labeled as less than 0.25% lead. After replacing old plumbing, flush your cold taps for five minutes daily over three days to remove any residual contaminants. This foundational step protects your family before adding filtration systems.
Start Cheap: Faucet Filters and Pitcher Systems
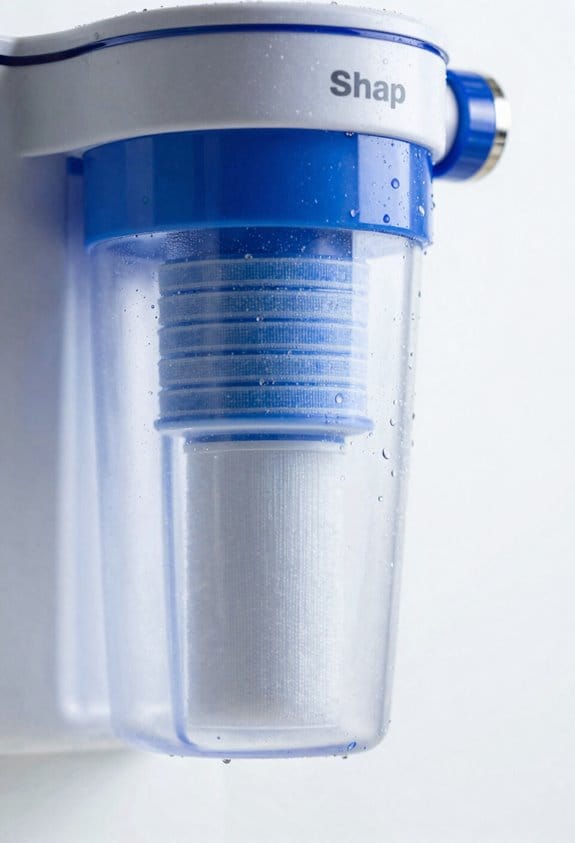
Now that you’ve addressed your home’s plumbing foundation, it’s time to build up your water quality with affordable filtration options that don’t require professional installation. Faucet filters attach directly to your kitchen sink, using activated carbon to trap sediment and chlorine while improving taste and odor. Pitcher systems work similarly but filter larger quantities that you store for later use. Both options are inexpensive and available at most stores. You’ll need to replace filters every one to three months, though you may notice slight flow reduction over time. These accessible solutions provide immediate water quality improvements without complicated setup, making them ideal starting points for households seeking cost-effective filtration.
Boost Protection: Boil and Chlorinate Your Water
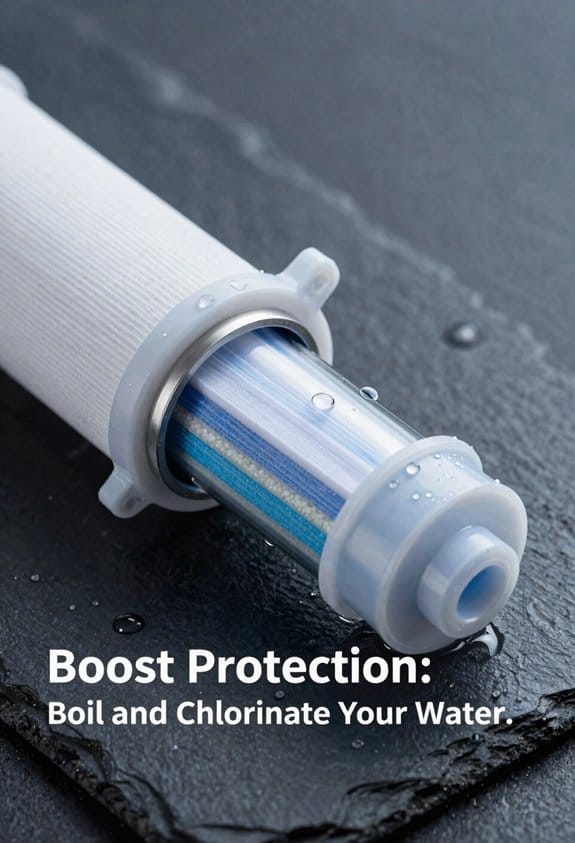
To markedly reduce harmful pathogens in your drinking water, you can combine two proven chemical-free and low-cost methods: boiling and chlorination. Boiling kills most bacteria and viruses through heat, though it doesn’t provide residual protection after cooling. When you boil and chlorinate together, you create a multibarrier approach that’s highly effective. Chlorine treatment, costing just pennies per gallon, inactivates over 99.99% of enteric bacteria and viruses at low doses. The key advantage: chlorine offers residual protection, meaning it continues safeguarding your water as it travels through pipes. For best results, boil your water first to remove turbidity, then add chlorine. Wait thirty minutes before drinking, allowing the chlorine adequate contact time to work effectively.
Soften Hard Water Without the Cost
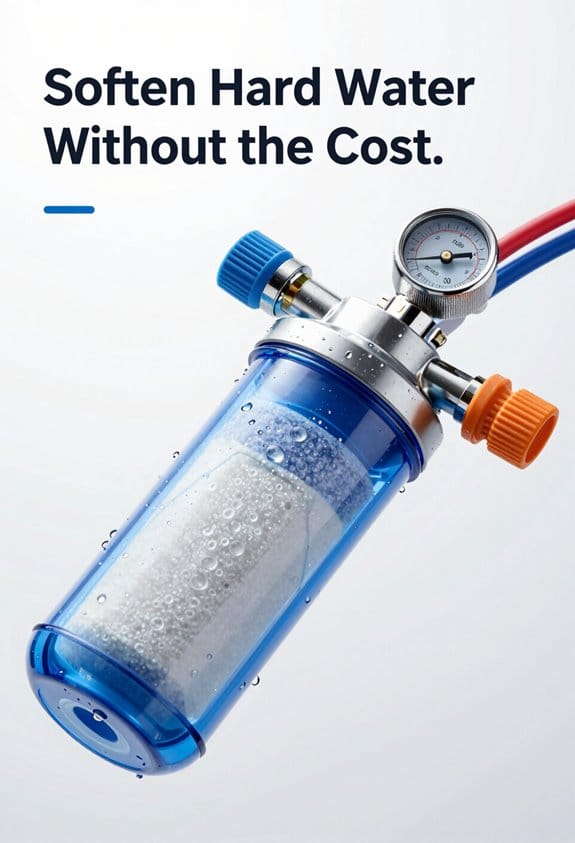
Hard water builds up in your pipes and appliances when calcium and magnesium minerals accumulate over time, causing scale deposits that reduce efficiency and increase costs. You don’t need expensive softeners to combat this problem. Natural alternatives like vinegar methods work effectively for limescale removal. Pour white vinegar onto faucet aerators and showerheads, letting it sit overnight to dissolve mineral buildup. For appliances, run vinegar through your coffee maker or dishwasher monthly. Baking soda also combats limescale when sprinkled on surfaces and scrubbed gently. These chemical-free solutions address chalky taste and clogs without the expense of whole-house systems. Regular maintenance using these natural approaches prevents scale accumulation, extending your appliances’ lifespan while keeping water quality manageable and your budget intact.
Upgrade to Reverse Osmosis When Ready
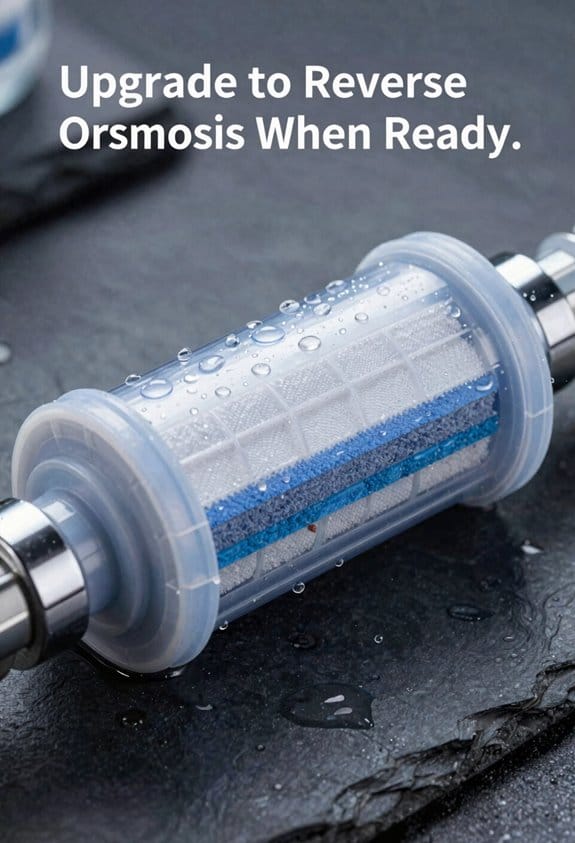
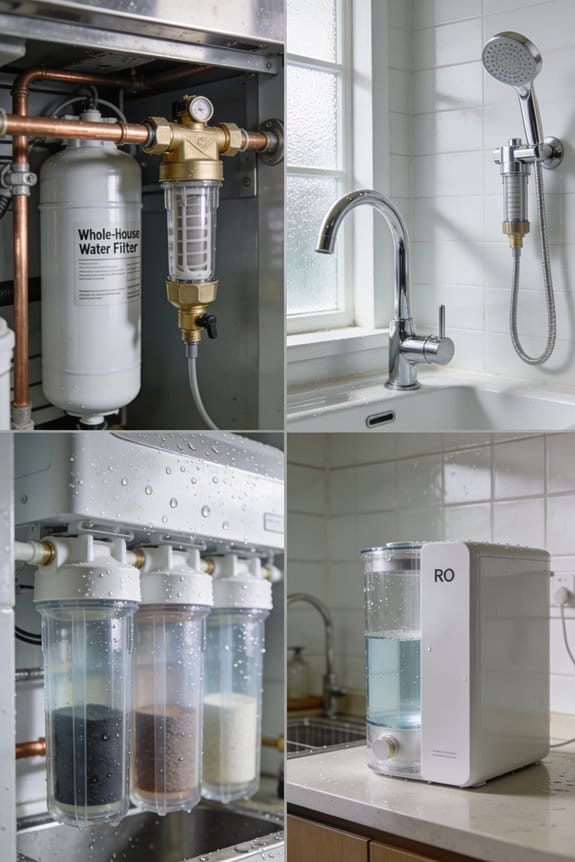
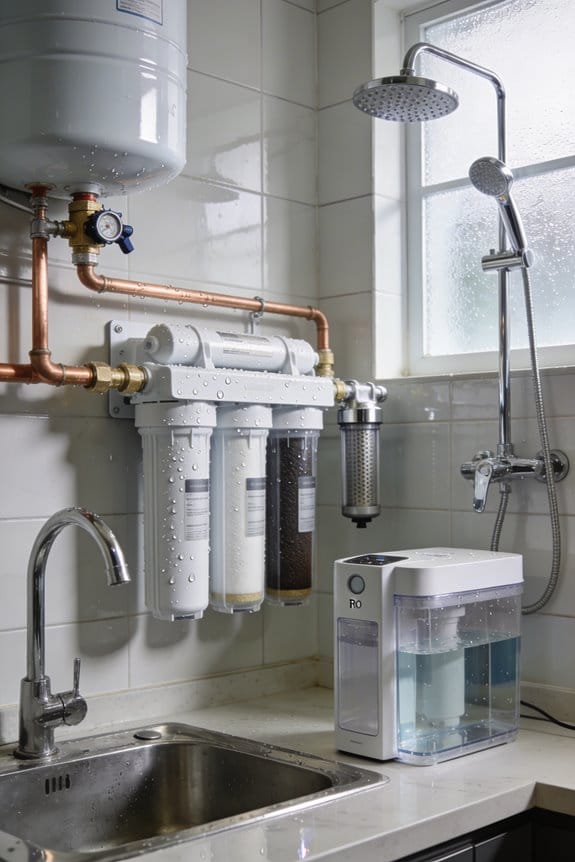
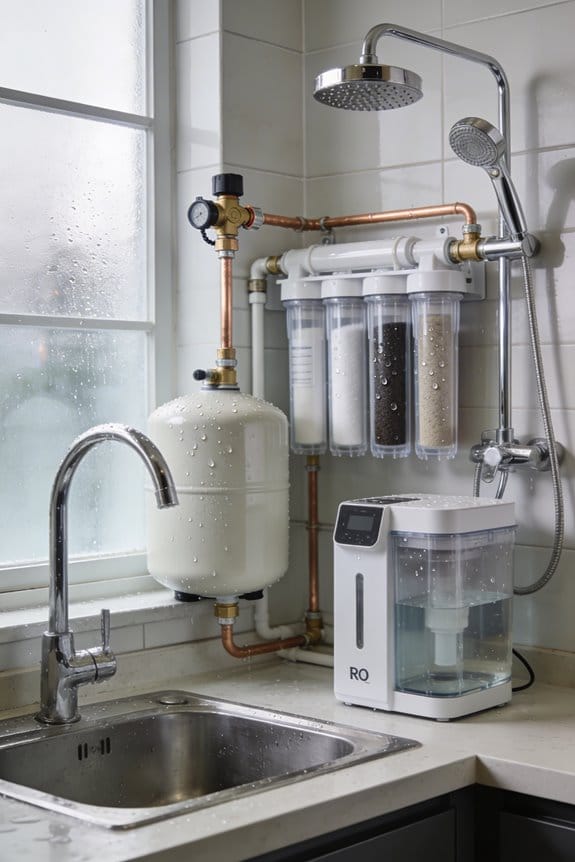
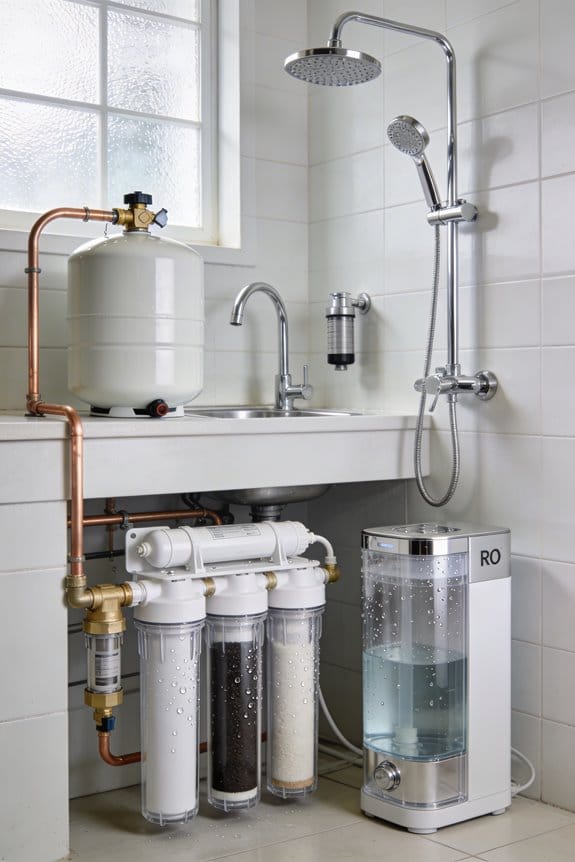
Once you’ve mastered basic filtration methods and want to remove dissolved solids from your drinking and cooking water, a reverse osmosis system offers a significant step up in purification capability. Under-sink RO systems excel at reducing barium, cadmium, copper, fluoride, and lead through their five-stage filtration process. The Waterdrop G3P600 particularly stands out for removing PFAS and lead while producing less wastewater than traditional models. You’ll need regular membrane maintenance to keep your system functioning ideally, so check your system warranties before purchasing. When connected to your refrigerator, you’ll enjoy on-demand clean water. Though RO systems cost more upfront than basic filters, they’re economical for high-volume use and provide superior water quality for your household.
Frequently Asked Questions
How Long Does Boiling Water Take to Remove All Contaminants Effectively?
I’ll tell you boiling water doesn’t remove all contaminants—it’s got real limitations. While boiling kills microorganisms in minutes, contaminant persistence is your problem with dissolved solids, chemicals, and heavy metals. You’ll need filtration too.
Can I Combine Multiple Water Treatment Methods for Better Results?
You’re hitting the nail on the head—absolutely combine methods! I’d recommend filter stacking, like pairing boiling with chlorination or filtration with UV. Just check system compatibility to guarantee they work together effectively for maximum protection.
What’s the Difference Between Water Softeners and Water Conditioners?
I’ll explain the key difference: softeners use ion exchange to remove calcium and magnesium entirely, while conditioners employ template assisted crystallization to reduce hardness minerals without removing them completely.
How Often Should I Flush My Taps After Installation?
I’d recommend you flush your cold taps for five minutes daily over three days after post-installation maintenance. This flow testing frequency guarantees proper system priming and removes air from your lines before drinking.
Does UV Purification Work Without Any Chemicals or Filters?
I’ve found that ultraviolet disinfection works perfectly chemical-free—it’s remarkably how it inactivates pathogens using light alone. You won’t need filters either, though combining UV with filtration strengthens your chemical-free purification considerably.